
Welcome to a straightforward and rewarding DIY project on how to install a paver walkway! If you’ve recently built a deck or want to enhance your outdoor space with a clean, attractive path, this guide is perfect for you. I’ll walk you through each step of installing a paver walkway, sharing tips and tricks to make the process easier, especially if you’re just starting out. Let’s dive in and transform your yard with a beautiful, functional paver walkway.
🛠️ Preparing the Area: Clearing and Measuring
Before laying down any pavers, preparation is key. In my project, the area next to my parents’ new deck was cluttered with old pavers and planters, which made the space look messy. The first step was to remove the existing pavers and clean out the edges thoroughly.
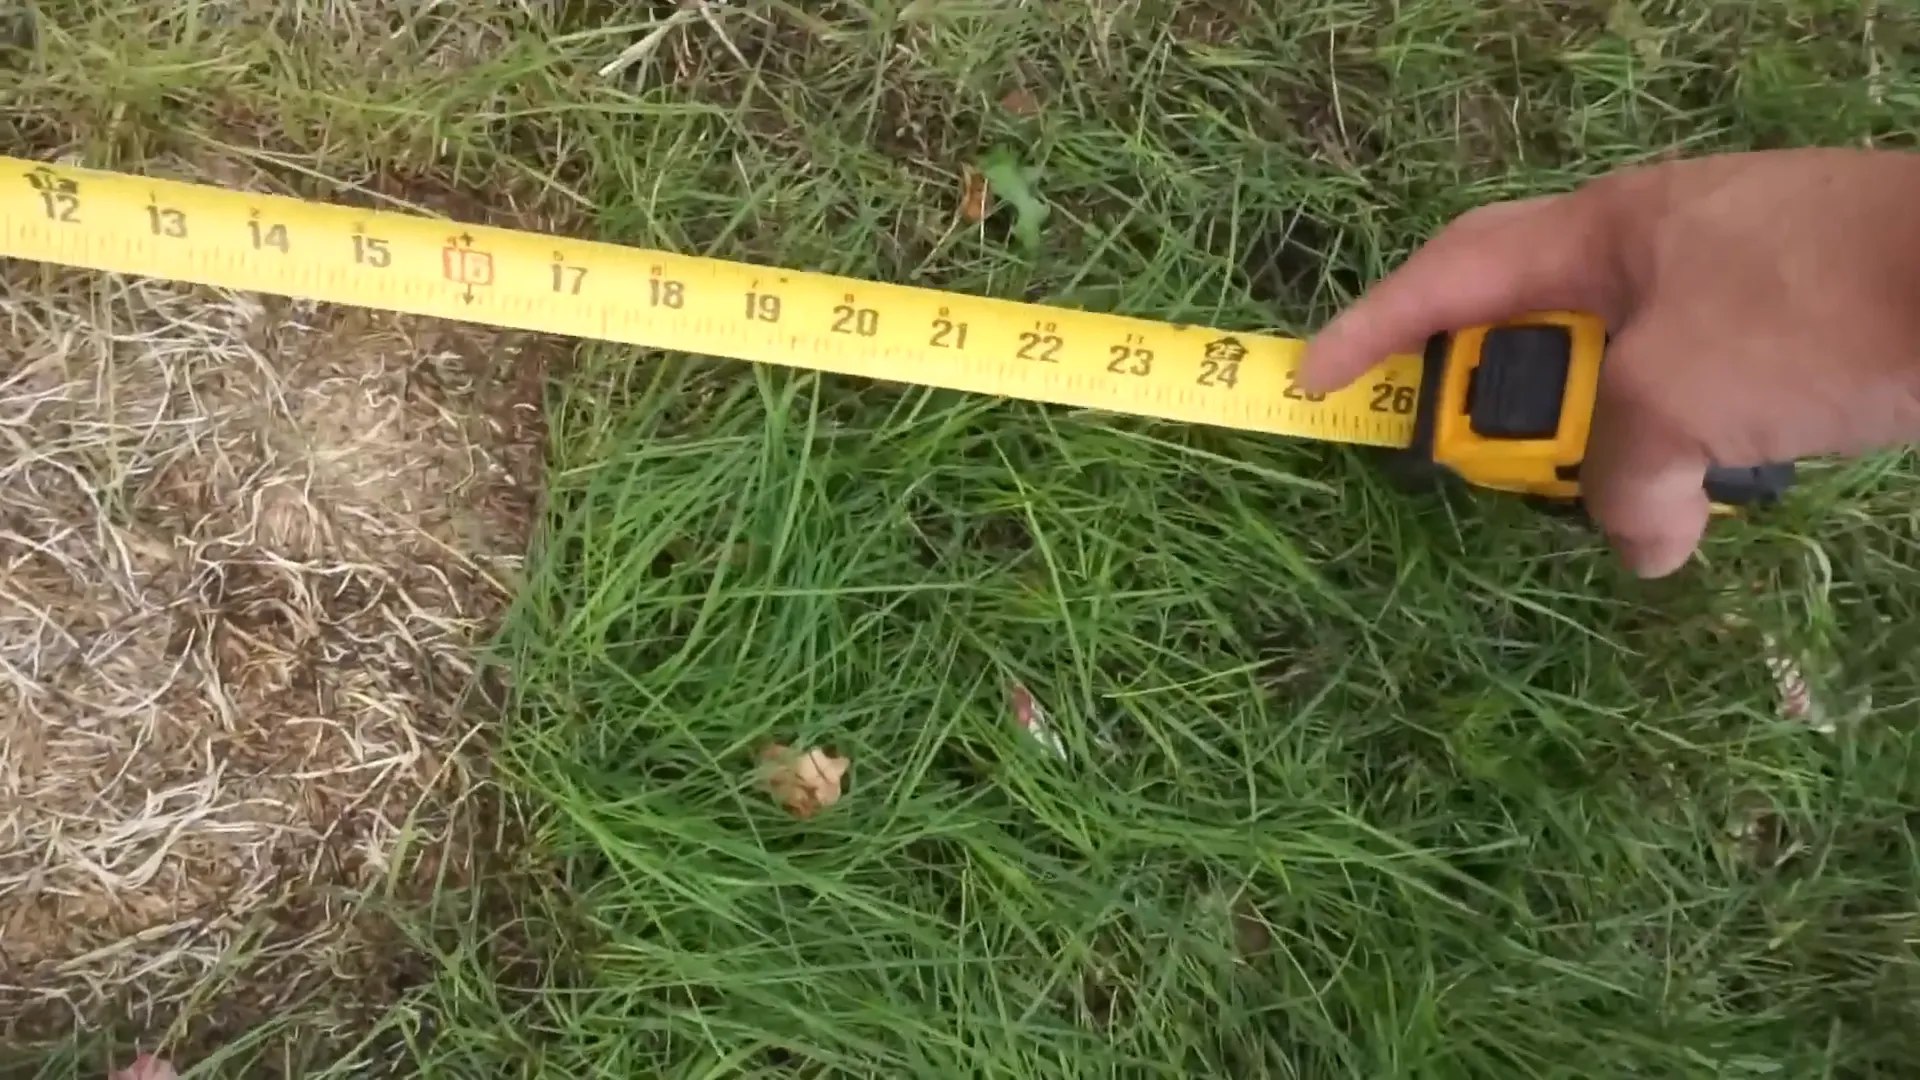
For this project, I used square pavers measuring 11½ by 11½ inches. I decided to keep the walkway about 20 inches away from the deck to provide a nice border and enough space for planters or landscaping. To mark this distance accurately, I hammered steel pegs into the ground and ran a string line between them. Using spray paint, I marked the string line so I could remove the string and still have a clear guide for digging.
To get clean, straight edges for the walkway, I recommend using a spade shovel with a flat, square edge. This tool helps cut precise lines in the ground, which makes the next steps much easier.
⛏️ Digging Out the Base: Patience is Key
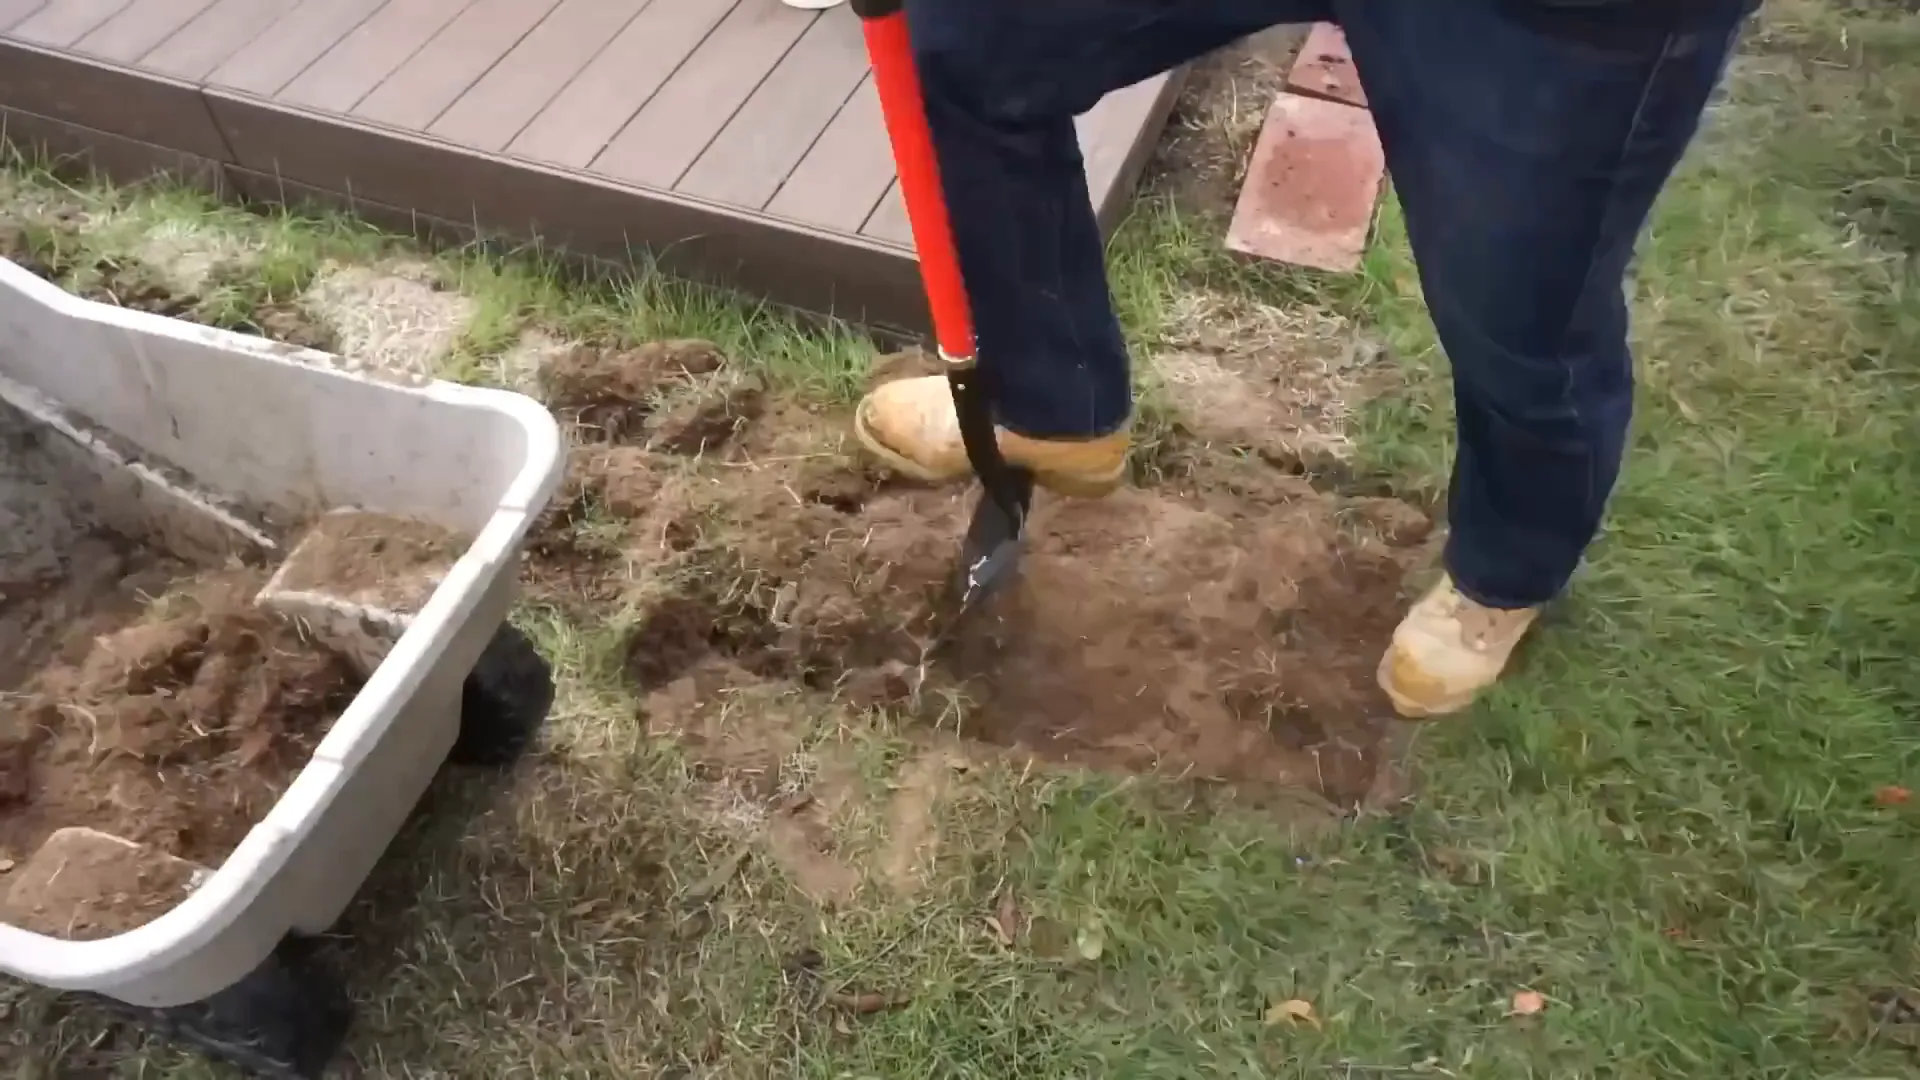
One of the most challenging parts of installing a paver walkway is digging out the soil to the right depth. The ground was tough and filled with rocks, so I was grateful to have help from my parents. The goal was to dig about four inches deep across the entire marked area.
Using the spade shovel, I carefully dug out the soil, cleaning the edges as I went. A bow rake came in handy for scooping out loose dirt and rocks, ensuring a smooth base for the pavers. Since the ground had recently rained on, it was a bit softer, which made digging a little easier.
After clearing the soil, I simulated how the pavers would sit on the ground to check for any unevenness. It’s normal to have some highs and lows, but the next steps will help level everything out.
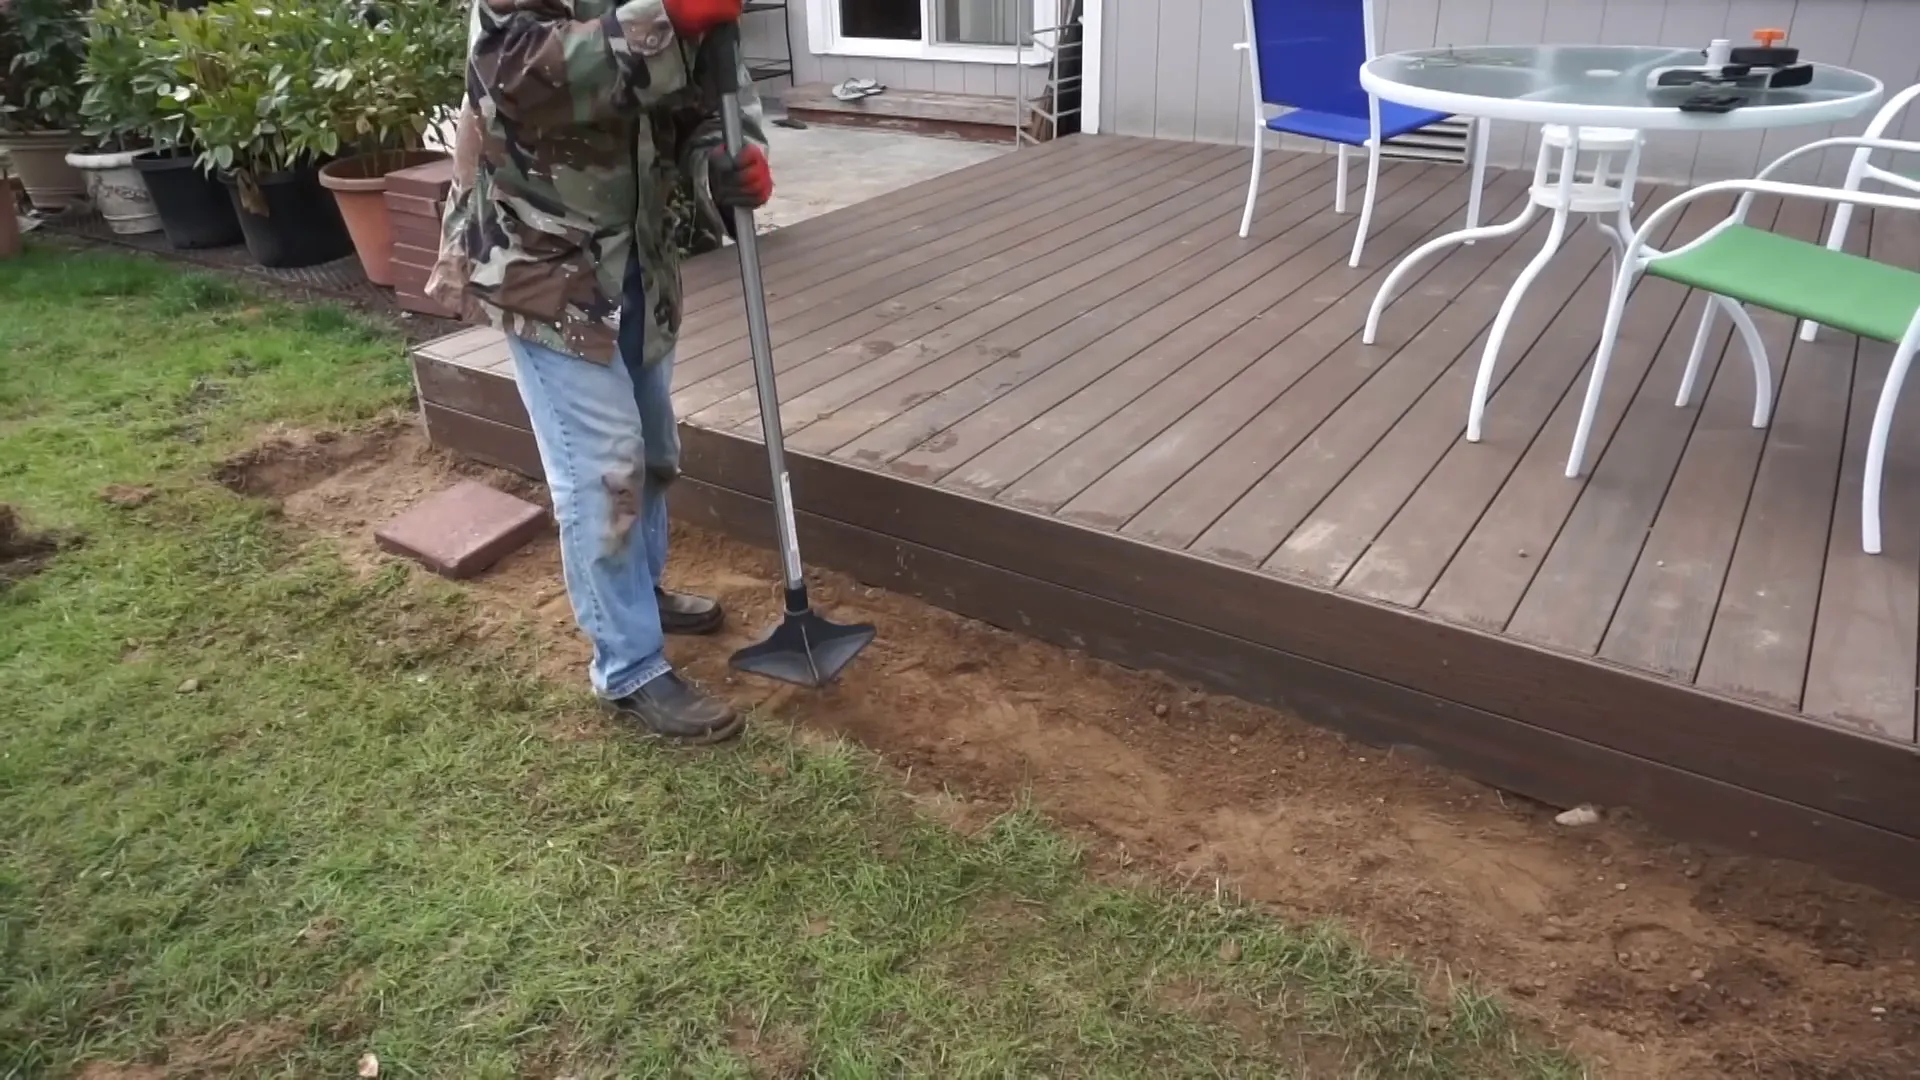
🔨 Compacting and Preparing the Base
Once the digging was done, it was time to compact the soil to create a solid, stable base. I used an 8x8 weighted tamper tool to flatten the ground. If you’re working on a larger project, renting a plate compactor from a local hardware store can save you time and effort.
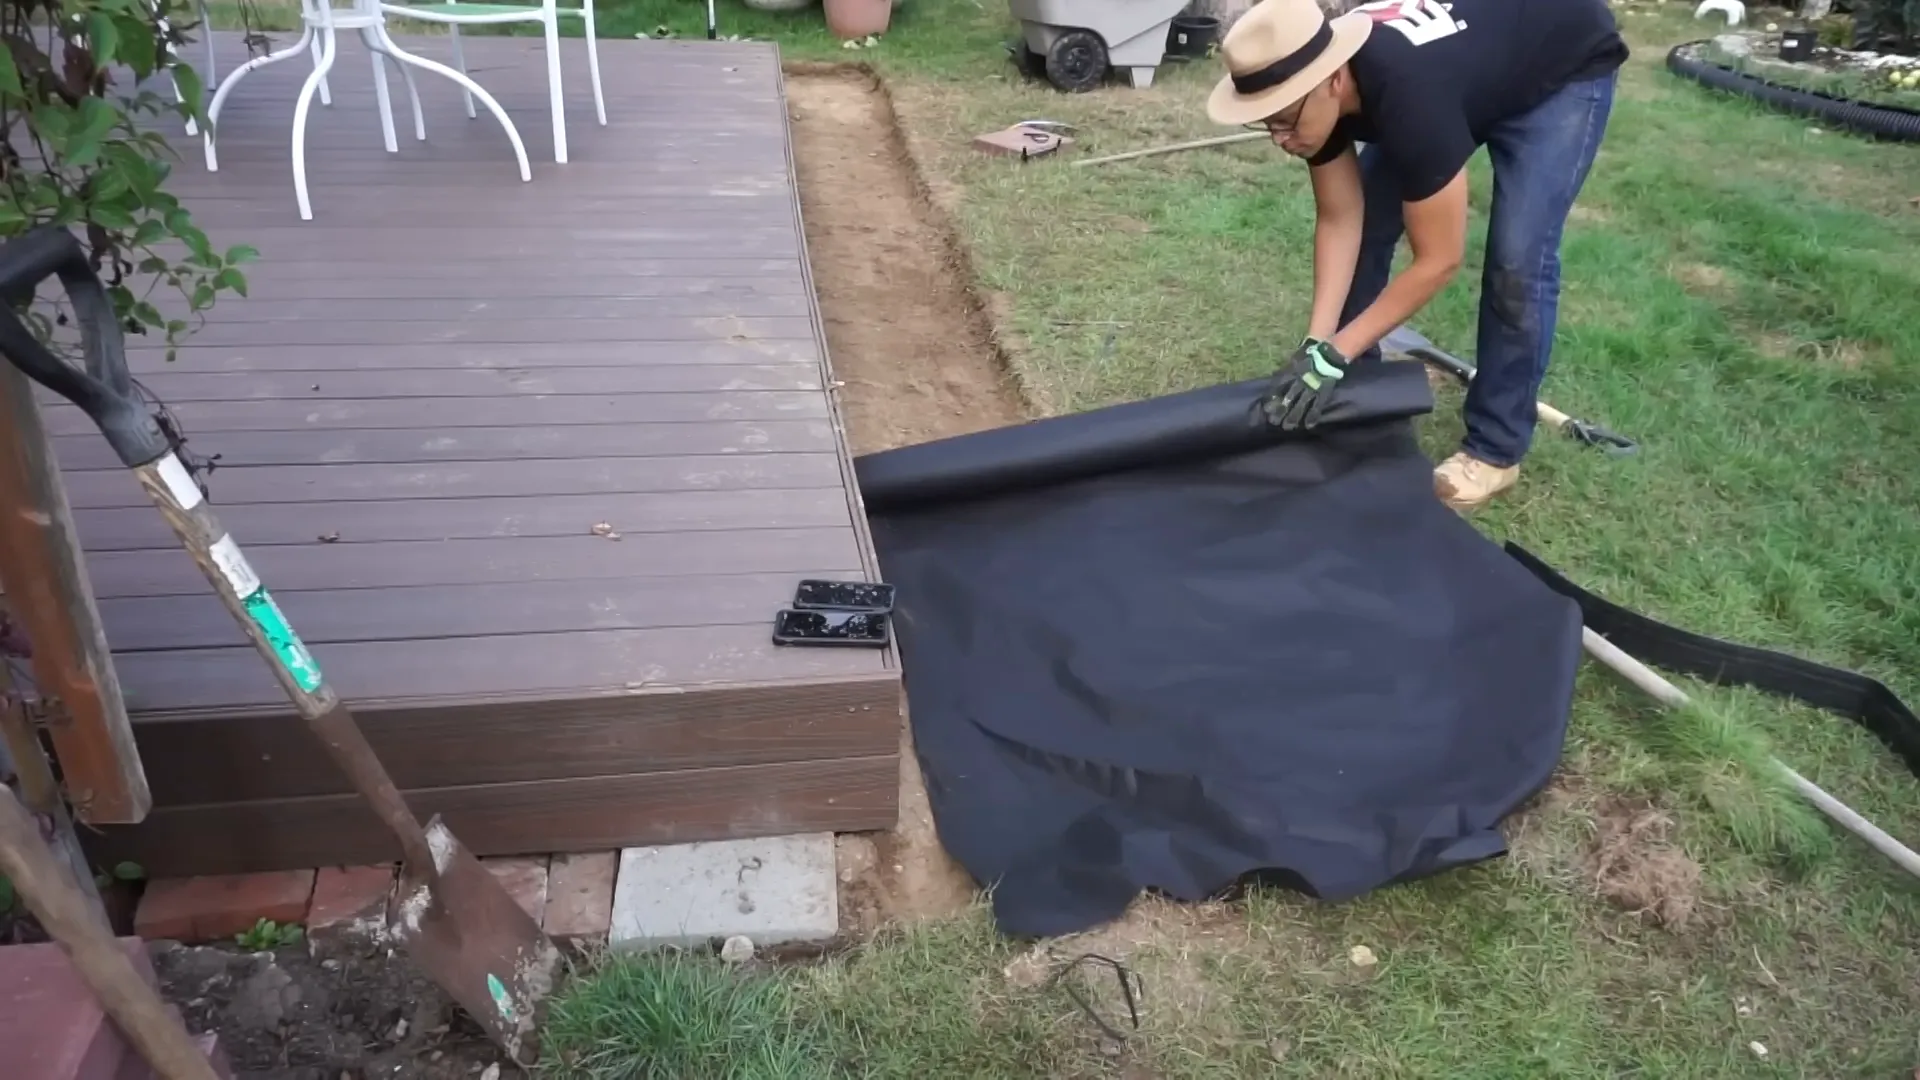
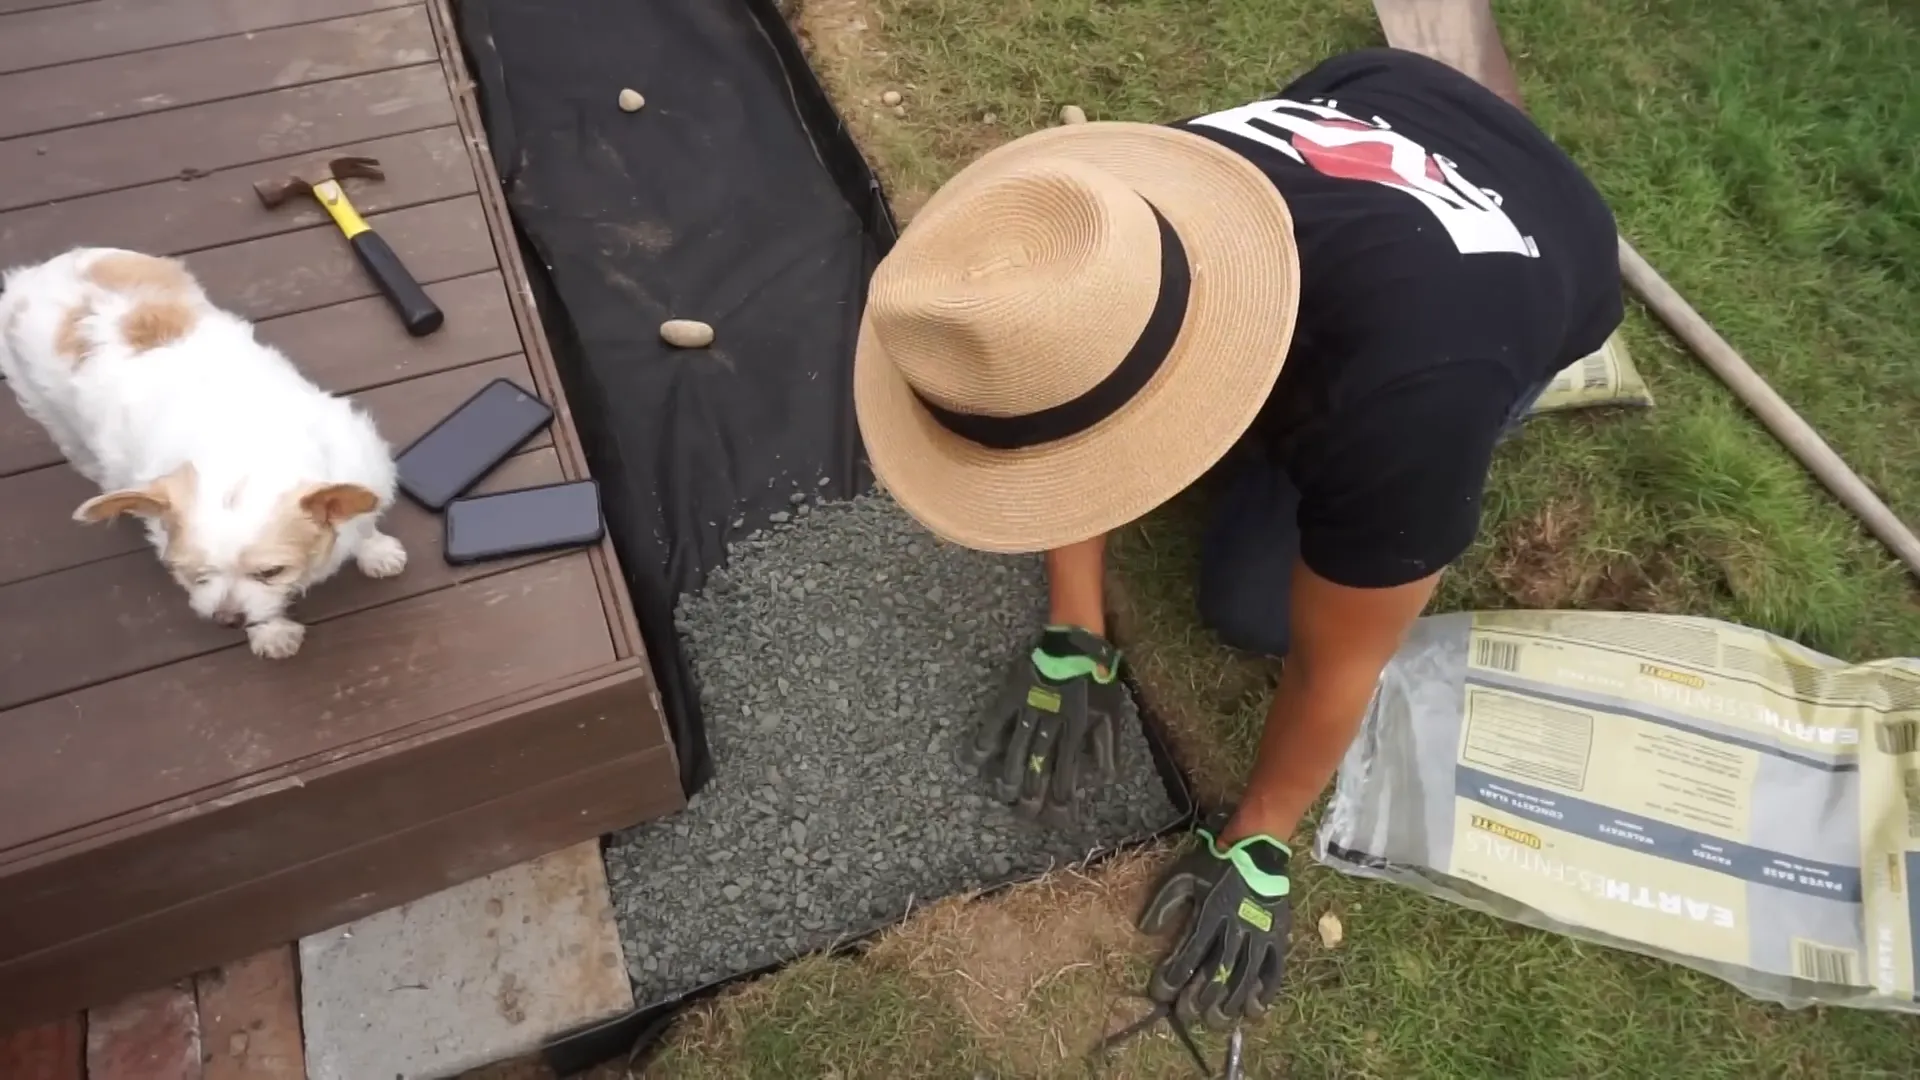
Next, I laid down a weed barrier mat to prevent weeds from growing through the rocks and pavers in the future. This step is crucial for long-term maintenance and saves you from a lot of cleanup later. When installing the edging to keep the walkway neat, I found it helpful to create initial holes with a large nail before pegging it down, especially on rocky ground.
🪨 Adding Paver Base and Leveling
The next step is to add the paver base, which provides a solid foundation for the pavers. I bought bags of paver base from Home Depot—about eight bags were enough for my small project. For larger areas, buying in bulk or truckloads might be more economical.
Spread the paver base evenly, aiming for about one inch deep before compacting. Use a bow rake to level the base and make spreading easier. After spreading, use the tamper tool again to compact the base firmly.
Proper compaction is essential to prevent shifting and settling later on. You’ll notice a significant difference between compacted and uncompacted soil—the compacted side looks smooth and firm.
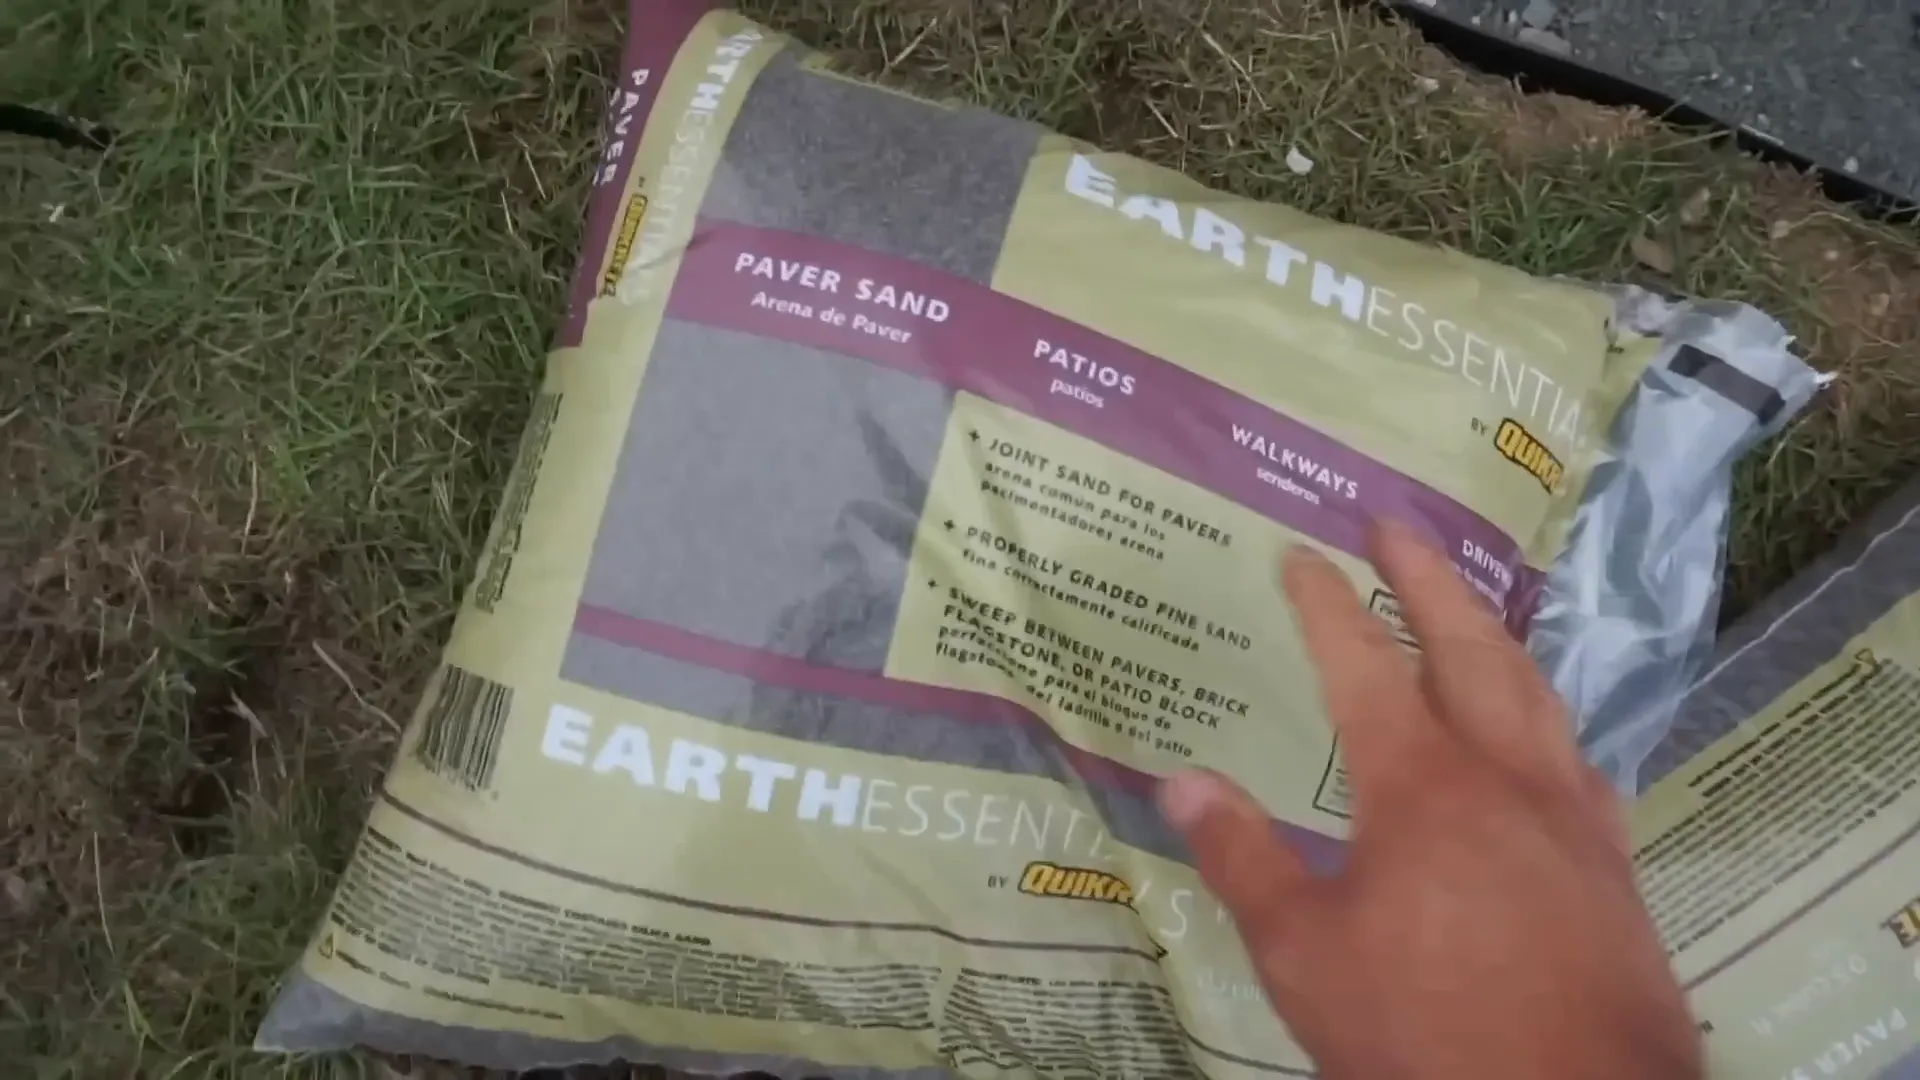
📏 Leveling with Paver Sand and Screeding
To even out the surface and fill in any remaining highs and lows, lay down a layer of paver sand. This layer will help the pavers sit level and stable. I used fewer bags of paver sand than paver base since this layer is thinner.
Since I didn’t have a professional screed, I created a DIY screed using two PVC pipes attached to a 2x4 board. This tool helps spread and level the sand evenly across the base.
After screeding, use the tamper tool lightly to compact the sand and smooth out any markings left by the pipes.
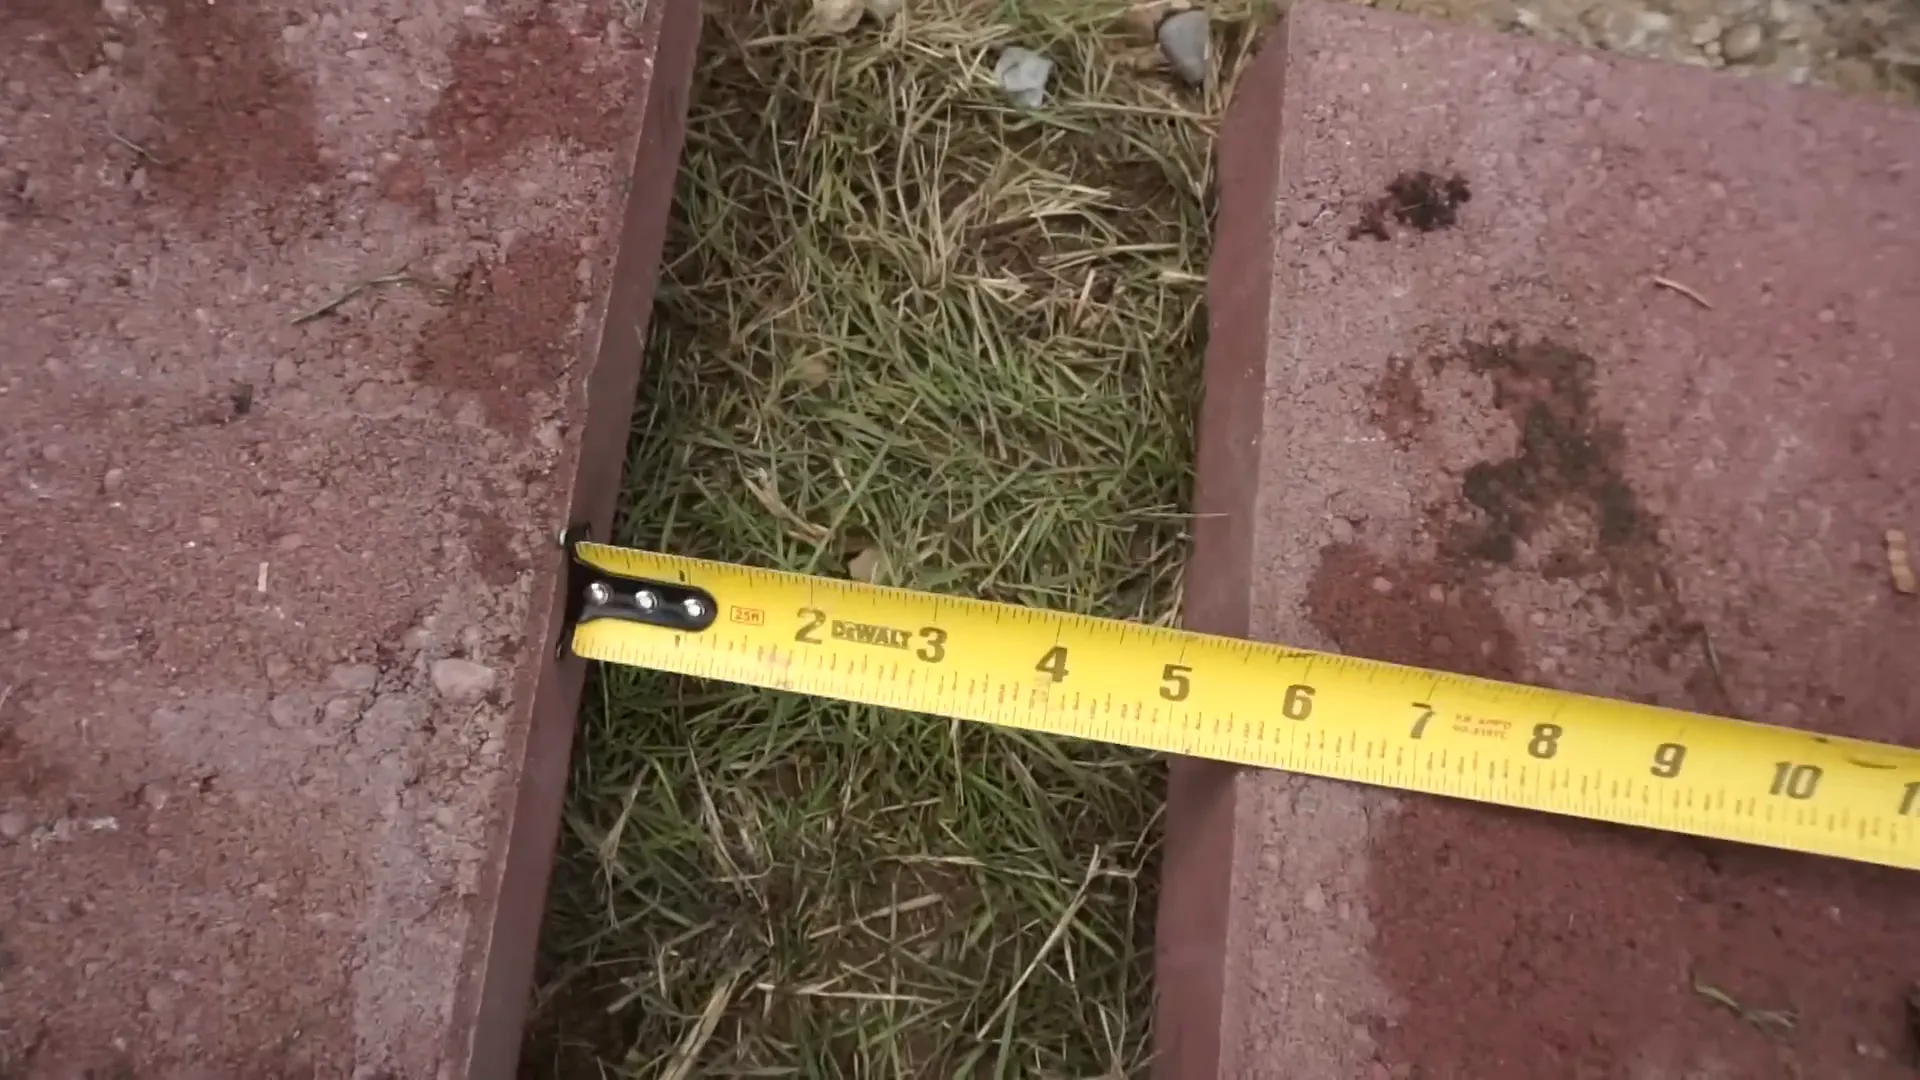
🧱 Laying the Pavers: Measuring and Leveling
Before setting the pavers permanently, I laid them out to measure spacing and ensure everything was even. The walkway was spaced about 4 inches from the deck edge, and I measured 5⅝ inches between each paver to keep consistent gaps.
For leveling, use a spirit level and adjust each paver by shaking or tapping it gently. If you don’t have a rubber mallet, a hammer with a 2x4 block works well to avoid damaging the pavers.
Work gradually, paver by paver, adjusting the sand underneath to get each one perfectly level. This method ensures a neat, professional-looking walkway.
🌿 Finishing Touches: Edging and Filling Gaps
Once all the pavers are in place and leveled, it’s time to tidy up the edges and fill the gaps. My parents chose exotic-colored pond pebbles to fill the spaces between the pavers, though I personally prefer white pebbles. Filling the gaps with decorative stones not only looks great but also helps keep the pavers stable.
This part is simple—just dump the pebbles into the gaps and spread them evenly. I used about six bags to fill the entire walkway.

🔧 Final Thoughts and Tips
Installing a paver walkway is a satisfying DIY project that can greatly enhance your outdoor space. Remember, patience and proper preparation are the keys to success. Here are a few quick tips to keep in mind:
- Use quality tools like a square spade shovel and tamper for best results.
- Don’t skip the weed barrier to save maintenance time later.
- Measure carefully and level each paver for a polished finish.
- Get help when digging to speed up the process and make it easier.
If you’re new to DIY projects, this is a fantastic beginner-friendly task that feels rewarding once completed. Happy paving!
For more DIY how-to videos and home repair tips, be sure to subscribe and stay tuned for more projects.


